|
Options for Markup Layer 1) Save As |
|
|
From the Legend, click on the New Markup Layer Options icon ( 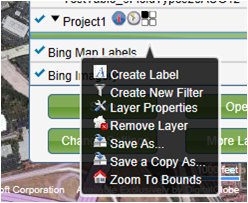
Selecting Save As saves a copy of the Markup Layer and that new copy becomes the active Target layer. Note that a number was appended to the markup layer. Change the name of the New Markup Layer as appropriate. 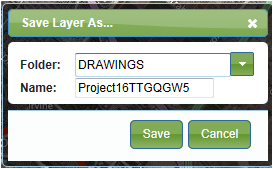 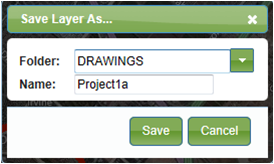 The Save As version (Project1a) will be added to the Legend and this will now be your Target version. All additional edits will be made to this layer. 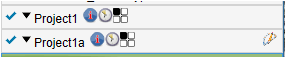
2) Save A Copy As Selecting Save a Copy As creates a copy of the markup Layer in the selected folder. The original layer will remain the target layer and additional edits will continue to be made to the original markup layer. 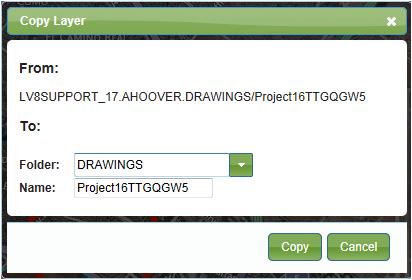 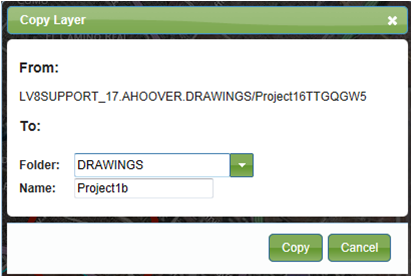 Note that Project 1b does not appear in the legend because we used Save a Copy As. You will need to select More Layers in the Legend, select ‘Drawings’ from the Folder drop-down move the layer to Active, select OK and then you will be able to view the layer in the Legend and edit the copy version.  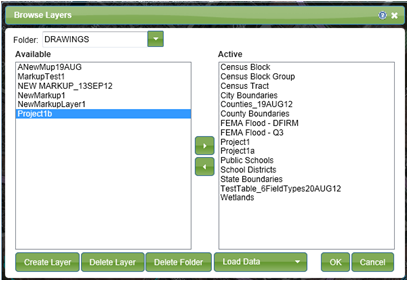
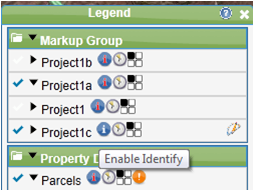
3) Remove Layer from Legend To remove the layer from the legend, select the Markup Layer in the Legend and click on the Options icon. Select Remove Layer to remove it from your map view. 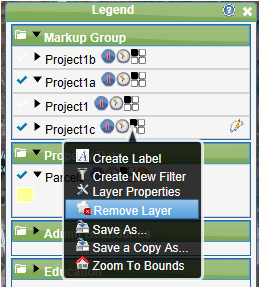 Note: The Markup Layer will be removed from the Legend/Map and will be available for future use from the More Layers menu. 4) Create a Label To create a Label on a Markup layer you need to have a drawing in the Markup layer. Assuming we have a Circle draw as show in the figure and this is in the ‘Markup Layer ‘ on the legend. 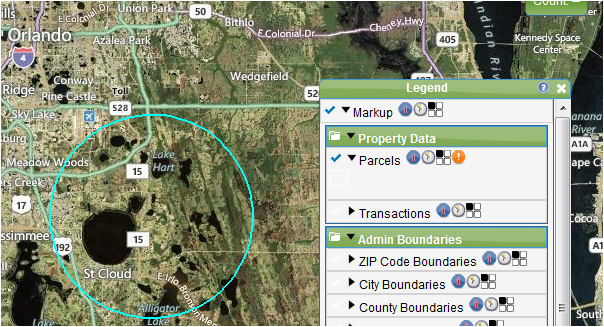 Edit the attributes of the Mark up layer and add a ‘label and ‘notes’ to the Circle. Now go to the ‘legend’ and select ‘Create Label’ from the Markup layer . This will give you a options below to create a label on 2 fields present in the drop down, ‘Label’ and ‘Notes’. You can choose the field which you want the label to be created. When you click ‘OK’ label will be created on the legend and the Name will appear on the drawing. 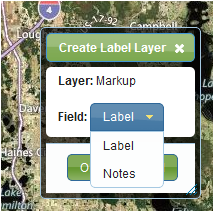 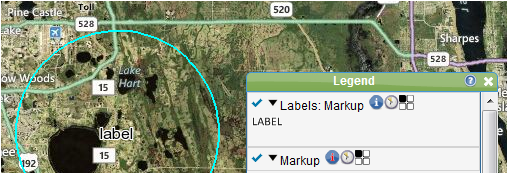 5) Create New Filter Select ‘Create new filter’ from the Markup layer options. You can select the standard filter type or the advanced filter type. In ‘standard filter’ type we need to add the search fields which we need to create a filter on, whereas on the ‘Advanced filter’ type we can build our own query. Select the filter type as ‘Standard’, give a name to the filter like ‘LabelFilter’. Click on ‘OK’. This will open the filter editor where we can add the search criteria or add the group. Click on ‘Add Search Criteria’ by ‘Label’ or ‘Notes’ from the drop down as those are the only 2 fields we can create a filter on the Markup layer. Select ‘Label’. In the ‘Available Search criteria’ select ‘ CheckBox Group Widget’ and click on ‘Add’. Alternatively, the user can select TextBox Widget and this will allow user to enter in their search filter criteria in a blank field. 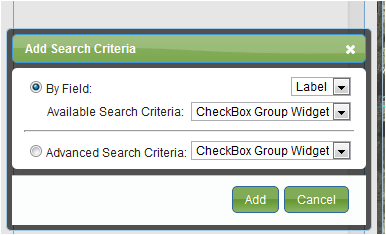 This will display the Field label and the options of Label names present. 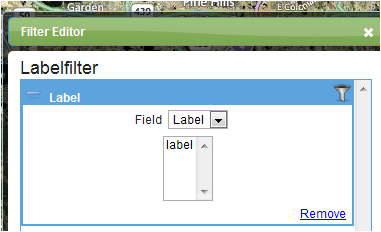 Click ‘OK’ and the filter will display on the filter bar.  Then click on the filter and select ‘ Label ‘. This should display the Markup named as Label on the map, the count should turn to 1 and the markup should be highlighted in Green Boundary. 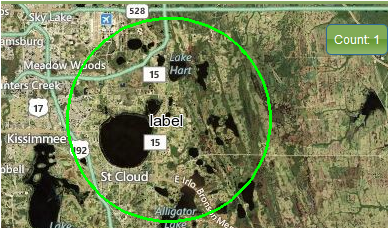 Now click on ‘Create New Filter ’ and select the ‘Advanced type filter ‘ Give it a name as ‘ Advanced filter’ . In the Advanced Query builder section you can build a query for the field ‘Label’ where the label name is ‘Label’. 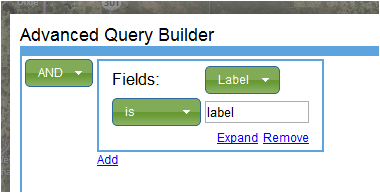 This should display the ‘Advanced filter’ on the filter bar.  By clicking on the ‘Advanced filter’ we can edit the fields again. This should display the Markup named as Label on the map, the count should turn to 1 and the markup should be highlighted in Green Boundary. 6) Layer Properties This gives you the detail information of the layer, here we can write down the settings of the layer like Title, Abstract, Attribution, GroupName, Min Zoom Level, Max Zoom Level and Bounds. 7) Layer Properties This will take us to the outer boundary of the drawings on the map which fall under this Markup Layer. Options on a Markup Drawing 1) Delete If you would like to delete a markup, you can do so by first making sure Identify is turned on for the Markup Layer in the Legend Layer. The Identify feature allows the layer to be “visible” when multiple layers exist. To Identify the Markup Layer, click the “i” icon to the right of the Markup Layer name to Enable Identify. Red ( ) indicates the layer is enabled and a white “i” icon ( ) indicates the layer is enabled and a white “i” icon ( ) indicates that Identify is disabled. ) indicates that Identify is disabled.
  Click on the Markup Drawing (the polygon, circle, line, icon, etc ) you want to delete. An information balloon will appear. If the Markup Drawing window does not appear, click on At This Location and select the Markup Layer you want to delete.  Now your Markup Layer will appear. Select the Commands button and select Delete. This will permanently delete the Markup Drawing. 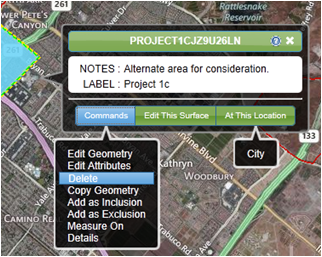 |
 ) which will give you an option to Save As